Create Bulk Locations
This tutorial shows you how to create bulk locations.
1. Navigate to Settings>System Settings.

The Admin Screen page will be displayed.
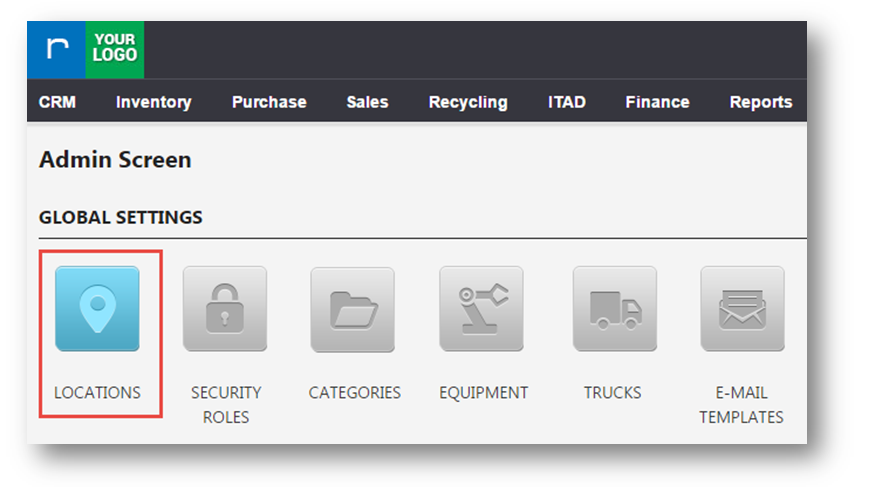
2. In GLOBAL SETTINGS section, navigate to LOCATIONS tab.
The LOCATIONS page will be displayed with a list of warehouses and their descriptions.

3. Select the warehouse from the list.
4. Click STRUCTURE.
The Manage Warehouse Structure dialog will be displayed.
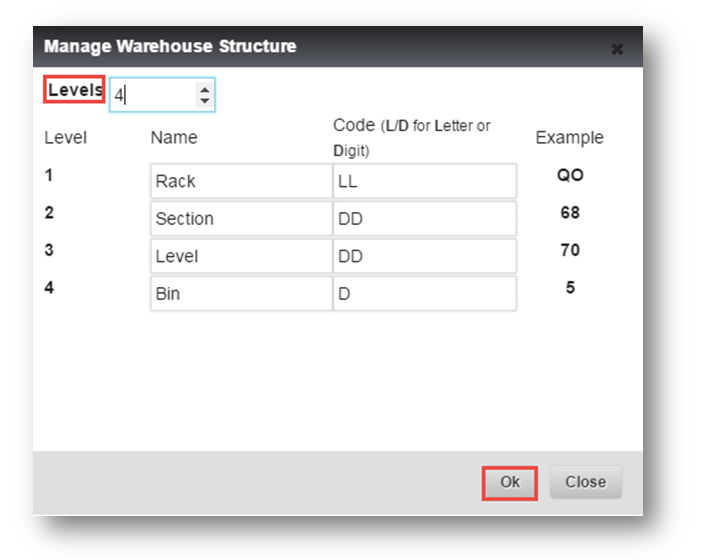
5. Select the warehouse structure level from the Levels field.
6. Specify the number of levels to be used for the warehouse structure from the Levels field. The maximum level you can add is 5.
7. Based on the number of levels you have added, the default name and code of these levels are added automatically. You may edit the name and code of the levels in the respective fields.
Note: You can view the example of the entered code pattern in the Example field. The code values can be LL, LD, DD, and DL.
8. Click Ok.
The Locations page will be displayed.

The initially selected warehouse will be automatically selected.
9. Click MANAGE.
The Manage Locations page will be displayed.
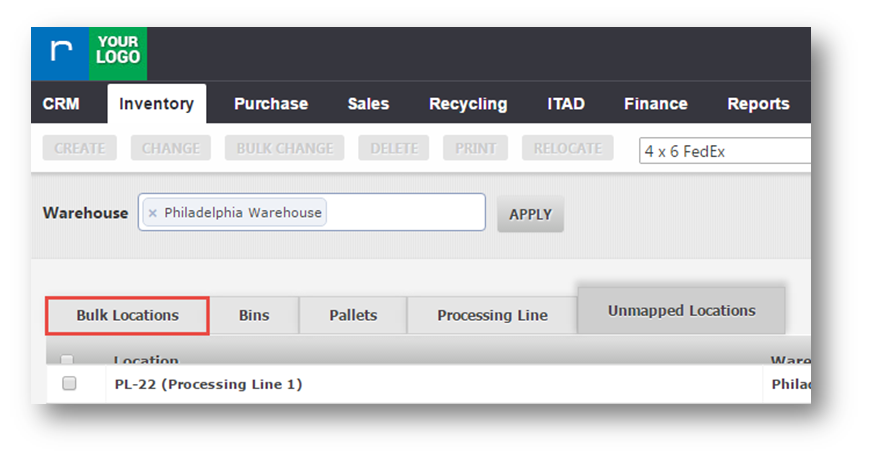
10. Navigate to Bulk Locations tab.
The list of Bulk Locations are displayed.

11. Click CREATE.
The Create Level Locations dialog will be displayed.
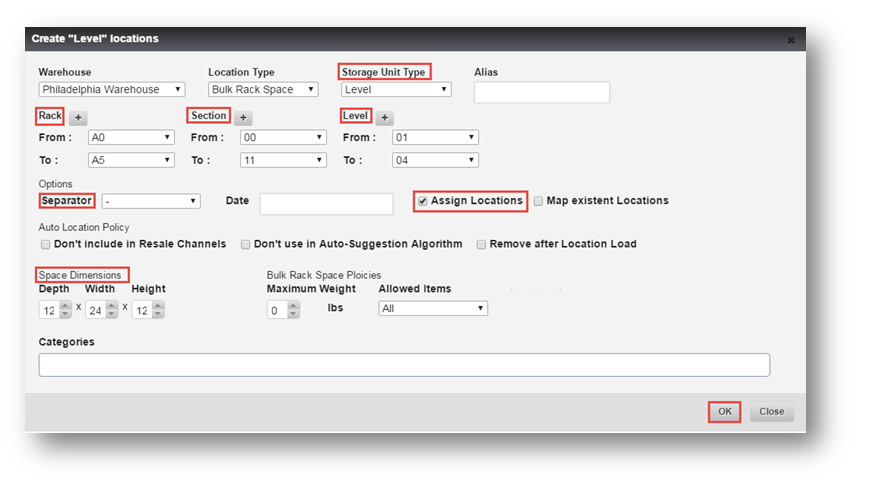
12. Select the options from the Storage Unit Type drop down list. The available options are Rack, Section and Level.
13. Select the number of racks in the Racks field.
14. Select the number of sections in the Section field.
15. Select the number of levels in then Level field.
16. Select the separators from the Separator drop down list.
17. Select the Assign Locations checkbox.
18. Enter Depth, Width and Height of the locations in the Space Dimensions field.
19. Click Ok.
The message box informing that the locations have been saved will be displayed.

20. Click Ok.
The bulk locations have been created successfully and the inventory can be created for these bulk locations.