Set the printer extra settings
This tutorial shows you how to set the printer's extra settings which is required for network printing. If you do not set these settings, you may see an error notification that reads "Printer extra settings not specified". The steps below will teach you how to set these settings and potentially troubleshoot that error message.
1.Click the gear icon at the top right and select System Settings in the flyout menu.

2. Click the Printing icon at the bottom under the Integrations section

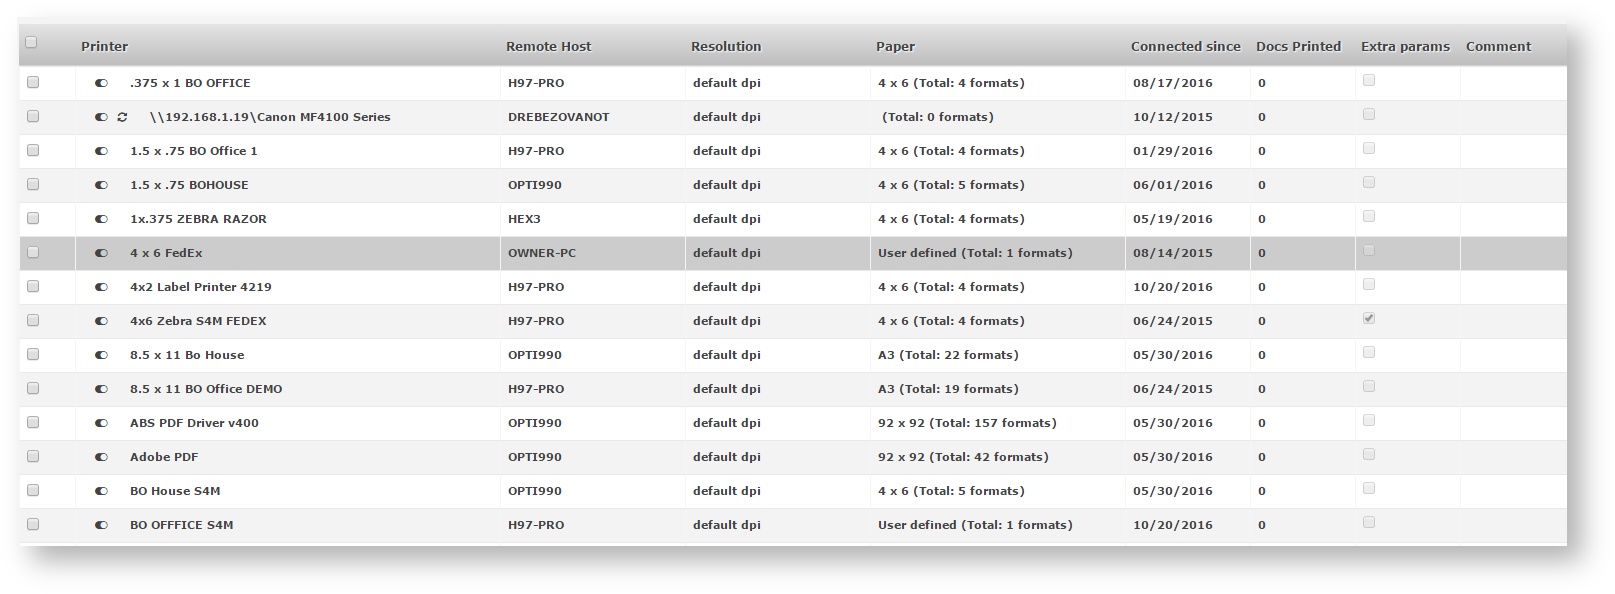
3. Find the printing station that you are trying to print labels from and double-click the line item.
Note
There is a column dedicated to displaying stations that have extra parameters specified already. Look for the column Extra params and if there is a checkbox, that means those settings were already applied.
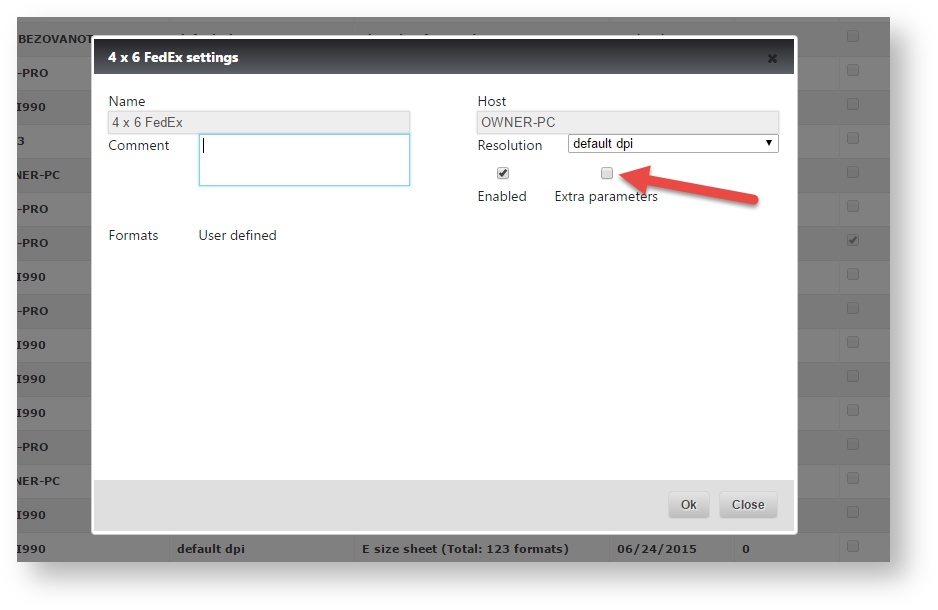
4. One the printing station is open, select the checkbox labeled Extra parameters.
5. Enter the IP address of the printer.
Note
If you haven't set an IP for the printer yet, you can watch this tutorial: Setting a Static IP Address on an S4M Printer.
If you have already set your printer's IP but you don't know how to find it, take a look at this article: Find a network printer IP
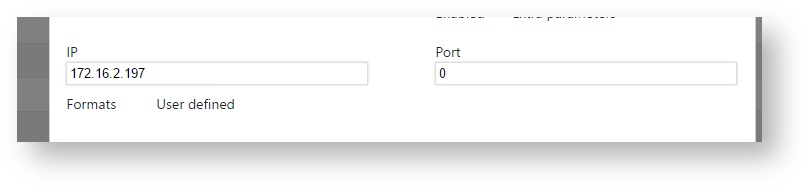
6. Enter the port number for the printer.
Tip
In almost 95% of the cases, the port number will be 9100.
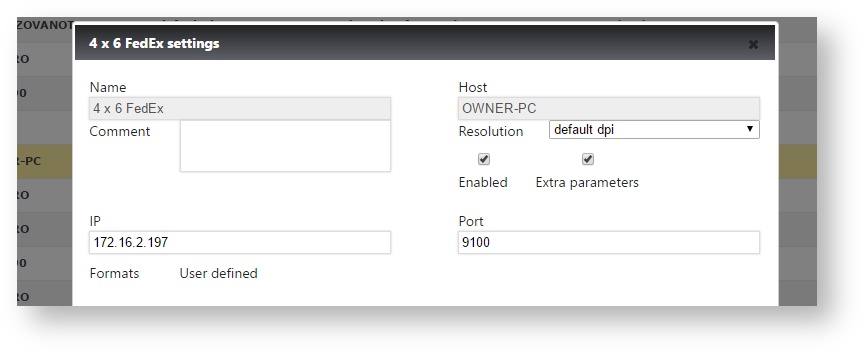
7. Click "Ok" and begin printing to that station.