This tutorial will show you how to set a static IP address on an S4M printer.
1. Press MENU button once.

2. Press Left button one time.

3. To set SETUP3 that is displayed on the console of the printer, press ENTER button.
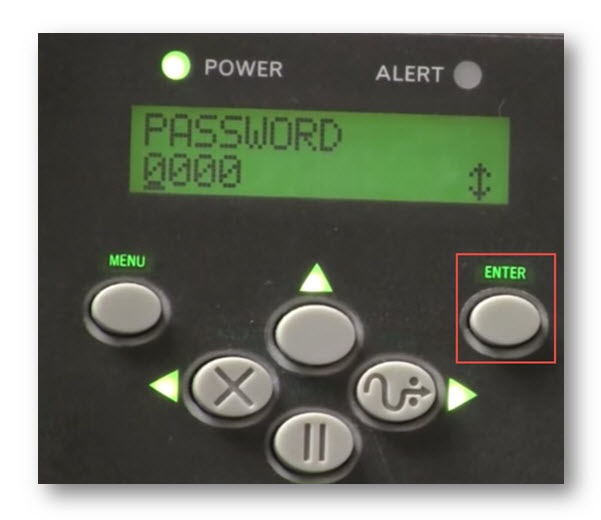
4. Enter the Password as 9999 by clicking Down and Right buttons.

5. Press Enter button.

6. Press the Left button until OBTAIN IP ADDRESS is displayed on the console.
7. Press Enter button.

8. Press the Up button until PERMANENT is displayed on the console.
9. Press Enter button.
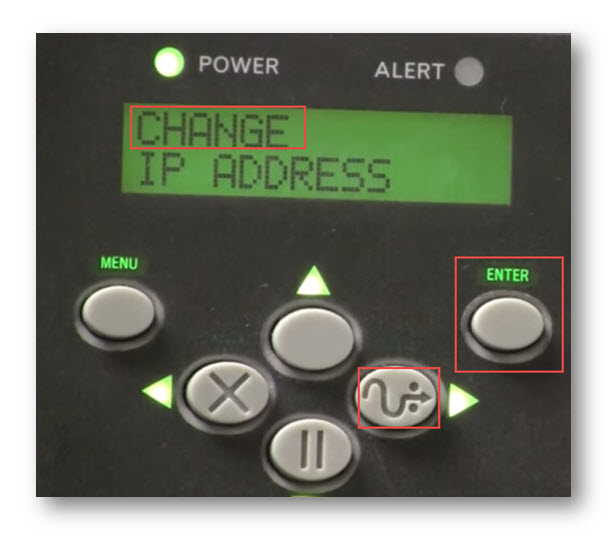
10. Press the Right button until CHANGE IP ADDRESS is displayed on the console.
11. Press Enter.

12. Enter the desired IP ADDRESS by pressing Left, Right, Up and Down buttons.
13. Press Enter.

14. Press the Right button CHANGE SUBNET is displayed on the console.
15. Press Enter.

16. Enter the desired SUBNET address by pressing Left, Right, Up and Down buttons.
17. Press Enter.

18. Press Right button, Change Gateway is displayed on the console.
19. Press Enter.

20. Enter the desired GATEWAY address by pressing Left, Right, Up and Down buttons.
21. Press Enter.

22. Click MENU button.
The message, SAVE CHANGES is displayed on the console.

23. Press Enter.
The message, SAVING CHANGES is displayed on console.
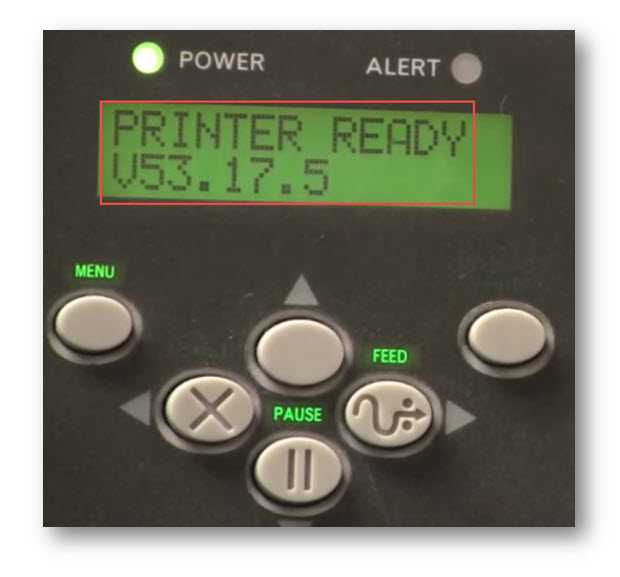
The console displays the message, PRINTER READY.