| Widget Connector | ||||||
|---|---|---|---|---|---|---|
|
This tutorial shows you how to create a security role in your system settings.
1. Navigate to Settings > System Settings.
The Admin Screen will be displayed.
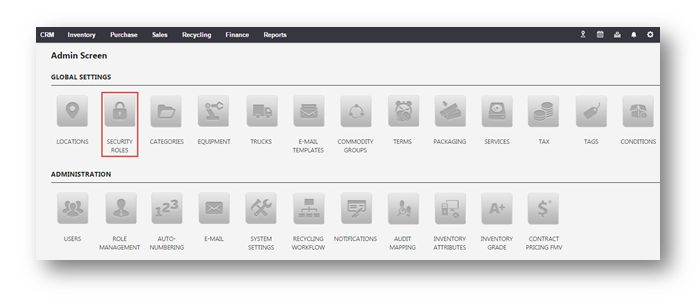
2. Navigate to Global Settings > Security Roles.
The Security Roles page will be displayed. You can see all the security roles in the system.

3. To create a new security role, click New.
The Create Role dialog will be displayed.

4. Enter the name of the role in the Role Name text entry box. In the example here, Tester is entered.
5. Enter the description of the role in the Role Description text entry box.
6. Click OK.
The new security role has been added.
7. To grant permissions to the security role, navigate to System Settings > Administration > Role Management.
The Role Management page will be displayed.
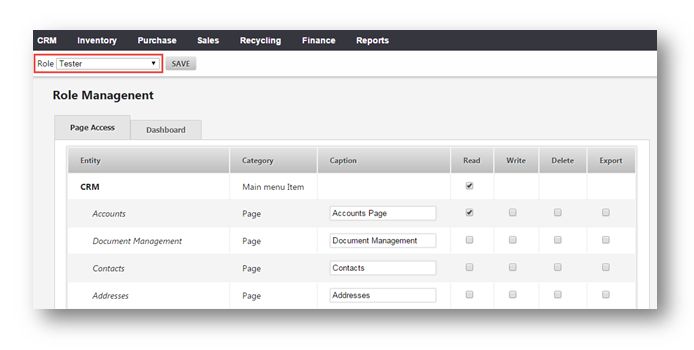
8. Select the security role that you just created as Tester from the Role drop down list.
9. Add the permission to that security role by checking the box in the row of the permissions to entities.
10. Click Save.
The security role will be defined with selected permissions.