...
Please familiarize yourself with the various attributes necessary for the QuickBooks integration. If you don't have some of the "required" pieces of information below, please be sure to retrieve them from your IT administrator before configuring this integration.


General
- Your Public IP Address
- Required
- Description – This is the public IP address of your company that is used to access the internet.
- Determination – Open a local session on the server that has QuickBooks installed and navigate in a browser to whatismyip.com. This site will tell you what IP address the server uses to access the internet.
- Port
- Required
- Description – This is the port used by the main/outbound QuickBooks connection using nSoftware's QbConnector tool. The default port is 8166.
- Determination – Use 8166 as the default unless that port is already occupied by a service on your company's WAN or LAN networks.
- Qb User Name
- Required
- Description – This is the user's name that has access to your company's QuickBooks file.
- Determination – In QuickBooks you should setup a new user exclusively used by Razor to access your company's QuickBooks file.
- Qb User Password
- Required
- Description – This is the user's password that has access to your company's QuickBooks file.
- Determination – This is assigned to the user account created (#4 above) when that user is designated for exclusive access to the company's QuickBooks file.
- File Path
- Required
- Description – The local file path where your company's QuickBooks file is stored.
- Determination – Open up QuickBooks and find where the company file is saved on the local file system or network.
...
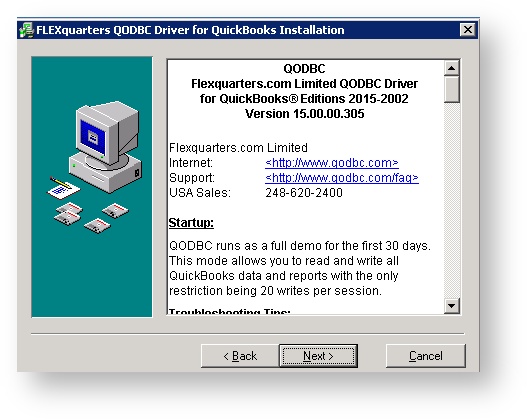
- Once the archive is downloaded to your QuickBooks server and extracted, double-click the executable file (qodbc_18.00.00.326.exe) and it should launch a screen like below.

2. Click "Next >"

3. Click "Next >" (Change your QuickBooks region of necessary)
...
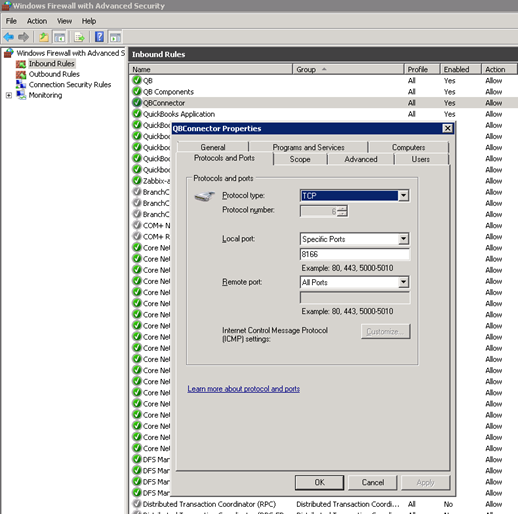
- First, on the Windows machine where QuickBooks is installed, open up TCP port 8166 for Inbound traffic using Windows Firewall with Advanced Security program.

- Place folder “RemoteConnector” to root of disk “C:\”
- Run C:\RemoteConnector\RemoteConnector.exe
- Click “Add user” on “Users” list, type “User”, “Password” and “Company File”. Click “Test Connection”. On the issue of "Autorize now?" answer "Yes"


- Open QuickBooks as an administrator.
- Click “OK” on Application Autorization on QBConnector


- You will see the prompt below asking you to assign the privileges and user to the user who is not trying to connect to QuickBooks (the user that you setup in step #7 above). Choose “Yes, always” and assign the Login user as the user that you created explicitly for accessing QuickBooks such as “qb_user” or “razor” or whatever is the name of the user you setup for the

- You will be asked one final time to confirm this access and just click DONE.

- Change port on base to 8166
- Finally, launch the QuickBooks program and with the correct settings in place you should be able to push Finance objects at your company’s path below into your QuickBooks installation.
- https://demo.razorerp.com/Admin/Finance.aspx
- Also, you may test your integration’s configuration by going to the System Settings page where you configured the integration in Razor and by using the TEST CONNECTION button to ensure the connection is successful. If it is successful, you will see the messages below.

...