Print a Resale Label from Receive Inventory
This tutorial shows you how to print a resale label from the Receive Inventory screen. There are different size options to choose from like 1.5 x .75, 3 x 1, 4 x 6, or 1 x .375. You can also choose if you want to use barcode or QR code.
This is going to be for replacing or putting a sticker on an item that you did not previously have a sticker on so that the item can be scanned into a location, scanned out of or scanned into a sales order.
1. Navigate to Inventory > Receive Inventory.
The Receive Inventory page will be displayed.

2. At the bottom, you will see all of your items that have recently been received into the system. In the example here, GX 620 is selected.
Or
You could search and find the exact item that you want.
3. Select the Print button and select the printer that you wish to select. Here HP Laser Jet 4250 is selected.
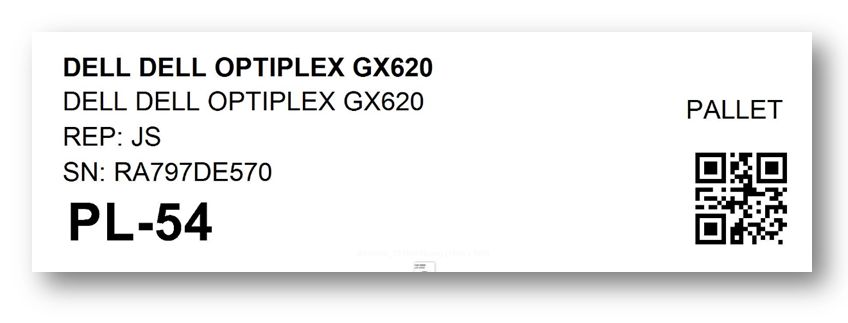
4. Select the size you would like it to print at, from the next drop down list. So there are several different options and if the particular printer that you want to go to, does not have the correct sizing here, you can contact your system administrator and they will be able to add it for you. In the example here, Size 3X1 QR is selected.
5. In this case it would print a three inch wide label by one inch tall with a QR code on it.
6. Click Print Label.
This will send it to the print queue.

7. You will also have the option to download the label. To do so, click Download Label.
The label will be downloaded to your system in the form of a picture.