Receive Multiple Items Using the Bulk Insert Function
This tutorial shows you how to receive in multiple items for the same SKU using the Bulk Insert function.
This feature is useful for when you have tons of items. Suppose you receive 100 laptops that are identical. But a couple of them have 320 GB hard drive instead of 160 GB. Such items are to be separated and received manually. And a few of them are scratched or few or not; you are going to separate them in different lots and bulk insert them independently or just manually receive them in.
In the example here, DELL OPTIPLEX GX280 is taken. You can then receive off that item and bulk insert a bunch of them. So if you do not have the item received in already, you are going to have to put at least one in the system with the condition codes in quantities that you want.
1. Navigate to Inventory>Receive Inventory.
The Receive Inventory page will be displayed.

2. Select the item and click Bulk Insert.
The new Bulk Insert dialog will be displayed.

3. Set the quantity you want in the Quantity field. In the example here, quantity 25 is selected.
4. Specify whether you wish to automatically generate the UID or serial number by checking the box in the required option. The available options are Auto Generate UID or Auto Generate Serial#.
This is important with CPUs that you would want to serialize, because they are high-value items and you want to make sure that if you sent them to a customer and there was an issue in the RMA that you did not factor in, the same piece of hardware would be sent back. In the example here, Auto Generate UID is selected.
5. Click Generate.
You can notice that your UID is filled in and Serial is left blank.
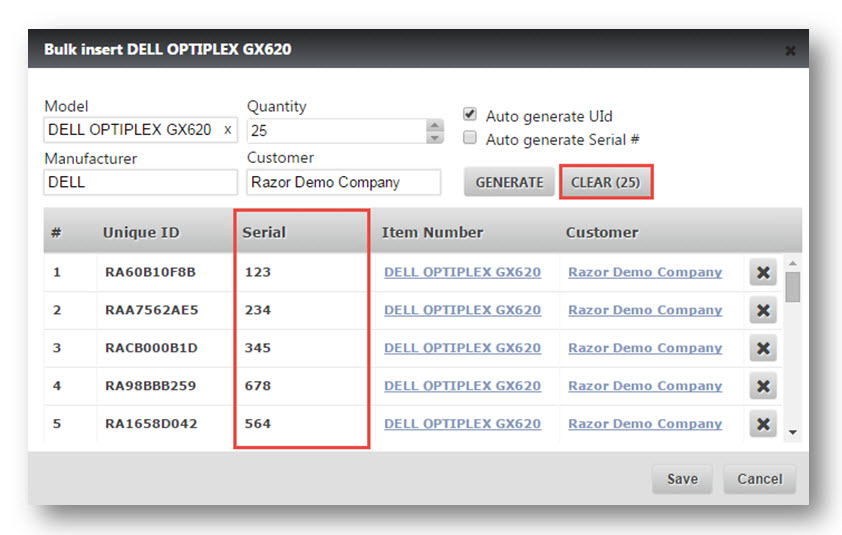
6. Enter the serial number in the Serial field and click Enter button on your keyboard. It will drop down to the next serial. Enter the serial number and click Enter or Tab on your keyboard. It will not touch the Unique Identifier.
7. If you do not want UID to be generated automatically, click Clear.
The message box informing you that the items will be removed will be displayed.

8. Click Yes.
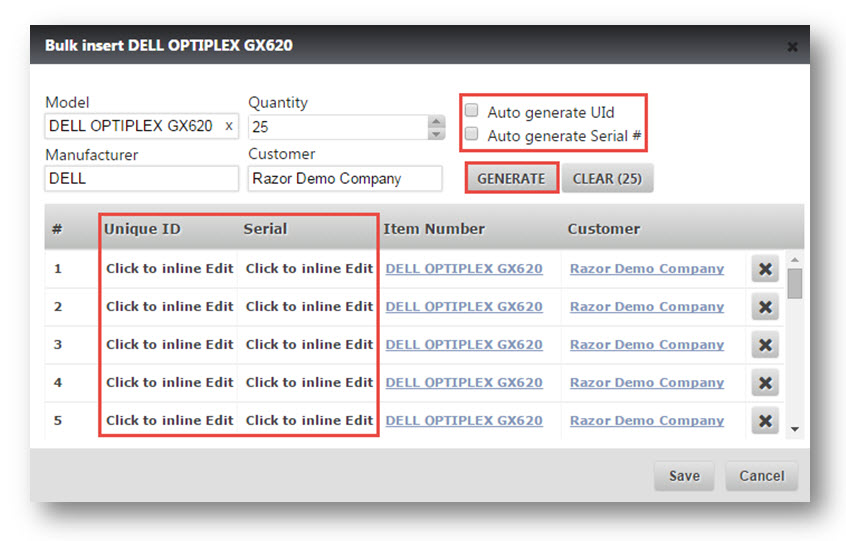
9. Uncheck the Auto Generate UID or Auto Generate Serial # fields and click Generate.
Both the Unique ID and Serial fields will be normal.
10. Enter the Unique ID and Serial numbers in the first row.
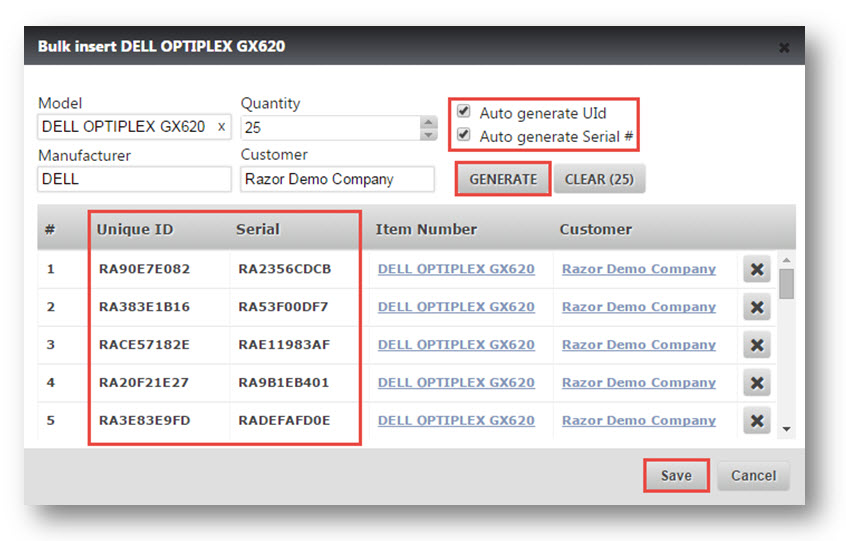
11. There is always the option of both being generated for you. That is done by checking the boxes in the Auto Generate UID or Auto Generate Serial # field and clickingGenerate.
The Unique ID and Serial number fields are automatically populated.
12. Click Save.
The Print a Queue dialog will be displayed.

The items are generated and you can print them.
13. Select item(s) and click Print.
So, at this point, the items are received into the system.
14. Click Close.
You will notice that all the items of DELL OPTIPLEX GX280 are received in.