Set up Tag Groups and Tags
This tutorial shows you how to set up your tags and tag groups in the system settings of RazorERP.
1. Navigate to Settings> System Settings.

The Admin page will be displayed.
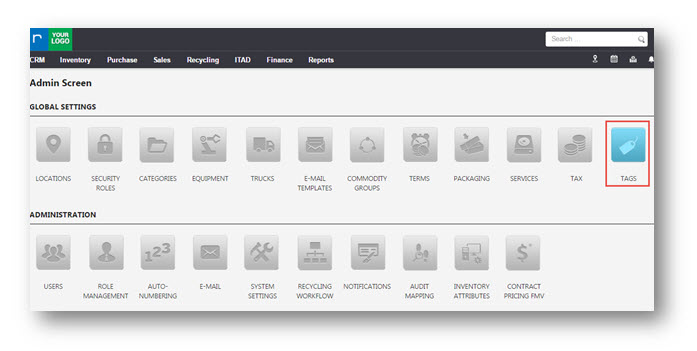
2. In GLOBAL SETTINGS section, navigate to TAGS tab.
The TAGS page is displayed.

The lists of different tag groups and tags are displayed.
3. Click NEW GROUP.
The Create Tag Group dialog box is displayed.
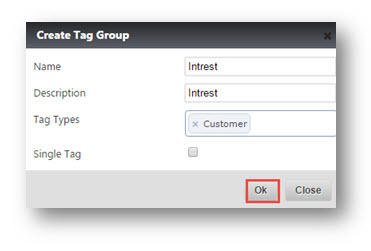
4. Enter the Name, Description and Tag Types in respective fields.
5. Click Ok.
The newly created tag group is updated and displayed in the list.
Now you can create a new tag.

6. Click NEW TAG.
The Create Tag dialog box is displayed.

7. Enter Name and Description in respective fields.
8. Click Ok.
The new tag is created and displayed.

9. Navigate to CRM> Accounts.
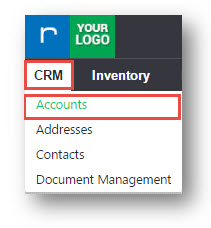
The Accounts page is displayed.

10. Select an account name from Accounts list to add tags.
The Edit account page is displayed.

11. Enter the first few letters of the tag in Tags field. The tags that you created show up in the drop down list.
12. Click Save and Exit.
The selected account will be associated with the selected tags.
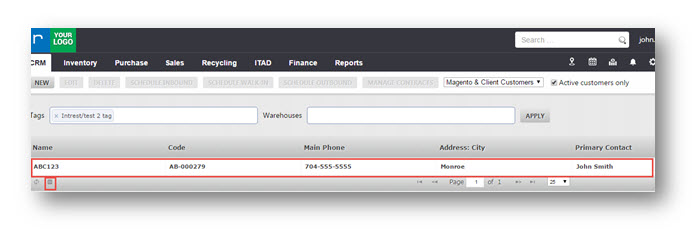
13. Navigate to CRM > Accounts.
The Accounts page is displayed.
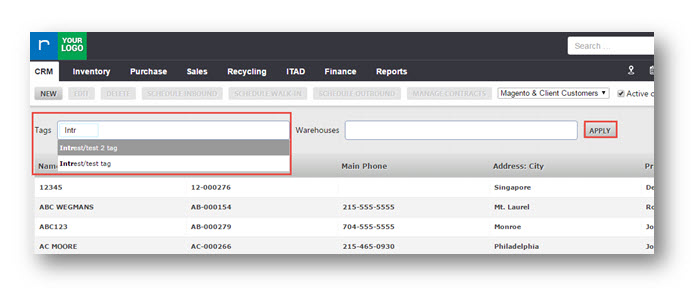
14. Enter the name of tag in Tags field. In this case, we look for the tag we created and associated with the account.
15. Click APPLY.
The account that is associated with the newly created tag will be displayed.