Utilize the System Logs
- Lakshmi Pulomas (Unlicensed)
- MatthewM (Unlicensed)
This tutorial shows you how to utilize the system logs.
The logs are meant to help the system administrator view all of the activity in the system and in many cases figure out who, where, what and when factors with the inventory.
1. If you are an administrator, navigate to Settings > Logs.
The Logs page will be displayed.

Note: You can only view this page if you are an administrator and there are different ways to utilize this page. All the activity that’s in the system is displayed and you can filter it based on what you want to see.

2. If you want to see all the activities based on the user, click on the User field, select the required user and click Apply.
From here, you can view all the activities based on the user.
3. Once you apply your filter, click the Remove (X) button to remove it.
4. Then click Apply to readjust the filters.
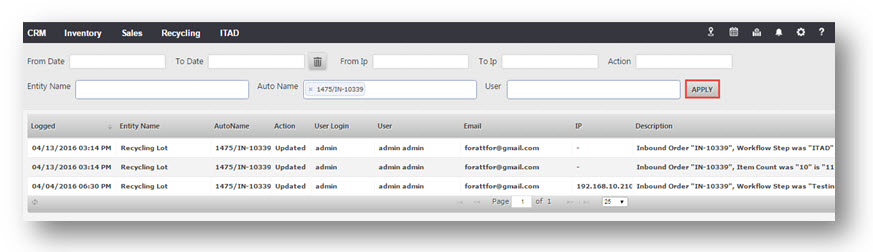
Suppose you want to search for an order number or lot number.
5. Click Auto Name field.
In the example here, inbound order 10030 is entered.
6. Click Apply.
From here, you can see all the activities for that particular order.
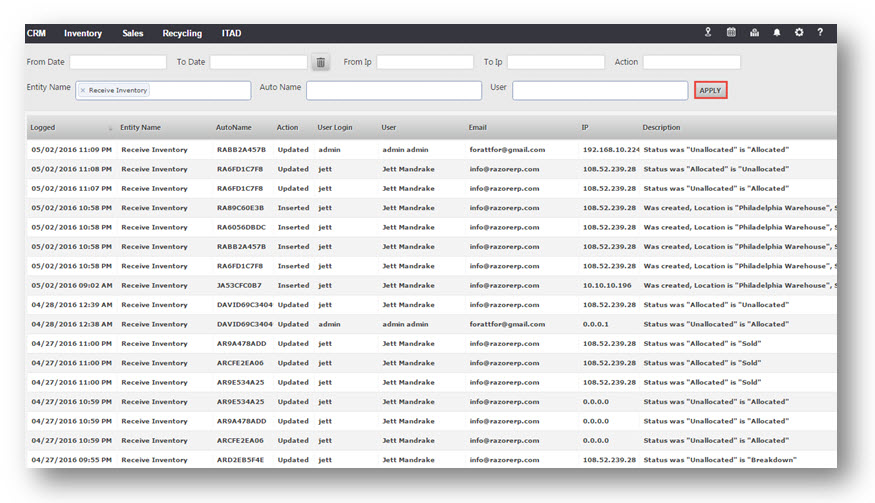
Suppose you want to choose an Entity Name.
7. Select the required entity name from the Entity Name drop down list. In the example here, Receive Inventory is selected.
8. Click Apply.
All the activity that happened in the Receive Inventory page will be displayed.
The logs are very important in a scenario where you have an order and you have a lot on that order but for some reason you cannot find that lot in the system.

9. Enter the lot number in the Auto Name text entry box.
10. Click Apply.
From here, you can see all the activity for this particular lot.
In the example here, you can view that the last action that happened in the Recycling Lot was deleted by the user admin and the description of the lot that was deleted is also displayed.
Note: This is a good way to troubleshoot some of your issues if you can’t find something in the system.