Sort a Lot
This tutorial will show you how to sort a lot in your recycling inventory. The sort function is best used for inventory received into the system as Mixed Electronics to be sorted and processed later.
1. Navigate to Recycling>Inventory Detail.
Once you are on the inventory detail, you can view all the lots in your system under your recycling inventory.
So using these tabs, you can see you which stage of the workflow these lots are in .We have the Sorting tab theoretically all of your lots that need to be sorted will be under this tab.
2. Click Sort.
The number here implies that there are 42 lots in your sort workflow.
3. Scroll down and find a lot that you are looking for and you can also use the Search bar here to type in the lot number. In the example here, we search for lot 1367 in the search bar.
The search result will be displayed.
4. Once you have your lot that your are looking for, click the check box and then click Sort at the top.
The Sort page will be displayed.
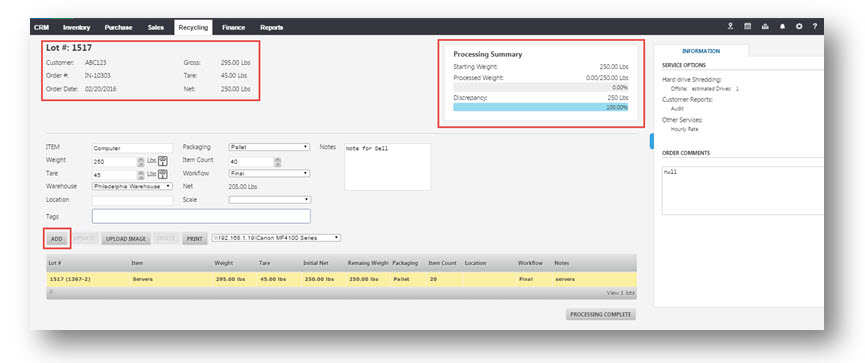
The first thing you should realize that this page is very similar to the Inbound Order Receive page.So you have your lot ID number at the top 1517. You have the inbound Order# number 10303. You have an Order Date and Gross, Tare and Net weights. You have Processing Summary bar. So once we start receiving against the lot and sorting it it’s going to process this lot and it’s going to show you your progress summary here.We also have Order Comments. So if you want to add an order comments here you can do that.
5. Select the Master Commodity associated to your sorting lot, in the Item field. In the example here, Computer is selected.
6. You can change the packaging type by selecting the required type from the Packaging drop down list. The available options are Pallet, Gaylord, Unit, Box, Loose and Test. If you select, Gaylord, you will notice that the Tare weight moved to 40 from 45. If you select Loose, Tare weight set to 0. You can configure that in the System Settings and in the example here, Pallet is selected.
7. Enter the 250 pounds in the Weight text entry box.
8. Enter the item count about 40 in the Item Count text entry box.
9. If you want to put notes, enter in the Notes text entry box.
10. Select the warehouse from the Warehouse drop down list and select the sub location from the Location drop down list.
11. If you want to change your workflow as well, select the final workflow from the Workflow drop down list. The available options are Sort, Data Destruction, Testing, Consumed, Audit, Final and ITAD. It is default to the Sort workflow and you can change it. If you can send it to finished goods, you can choose the final workflow and if you need for the testing you can choose a testing workflow. In the example here, Final is selected.
12. Click Add.
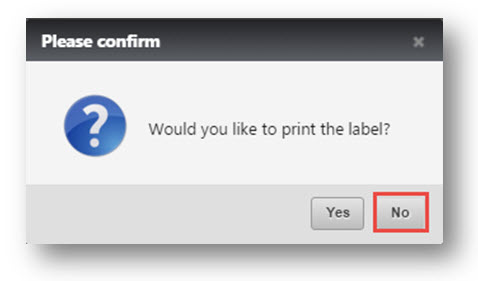
The message box asking you to confirm and print the label will be displayed.
If you have your printer setup, you can print it.
13. In this case, click No.
The lot details are displayed.
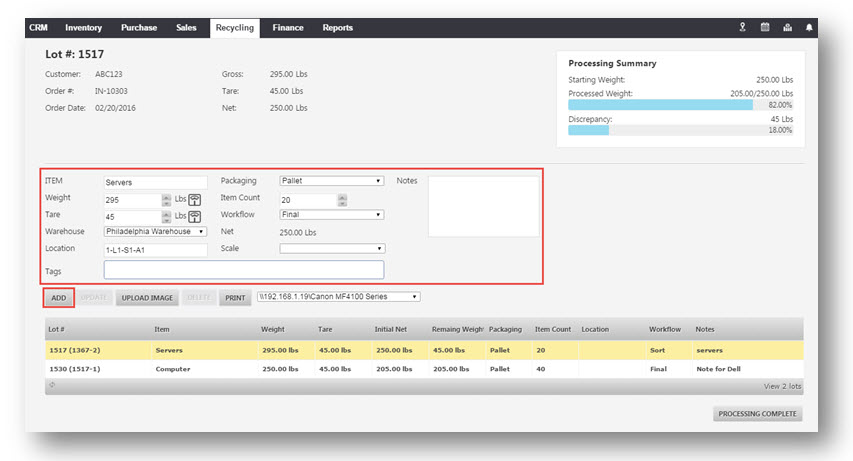
You can see that the new lot id 1516 along with sub lot id of 1367 – 1 is added. This is because we are processing the master lot which is 1367.
Note: Sorted lots have two Lot ID references. One will be a new master lot ID# and second is a sub ID # from the lot being processed (i.e. 1367-1).
In the Processing Summary section at the top right, you realize that we processed 205 pounds out of 455 pounds and there’s still a discrepancy of 45 pounds left. So we have to continue sorting out this lot.
14. Go back into Item field and select master commodity. In the example here, Servers is selected.
15. Enter the weight as 295 pounds in the Weight text entry box.
16. Enter the item count as 20 in the Item Count text entry box.
17. Enter the notes if any, in the Notes text entry box.
18. Select the workflow as Final from the Final Workflow drop down list.
19. Select the warehouse from the Warehouse drop down list.
20. Select the location from the Location field.
21. Click Add.
Again the message box asking you to confirm to print a label will be displayed.
22. Click No.
The new lot will be created.
So we have 2 lots now with sub lots,1367-1 and 1367-2.
Note that in Processing Summarysection,the processed weight should be100 % and that will be a perfect match.
Note: If its not a perfect match, its going to ask you what you want to do with your left overweight and you can add in a new lot to finally process.
23. So once perfect match is achieved, click Processing Complete.
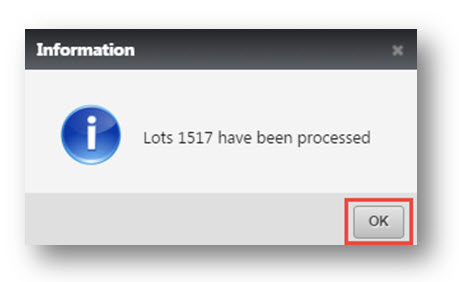
The message box informing you that lot 1517 have been processed will be displayed.
24. Click OK.
25. Navigate to Recycling>Inventory Detail.
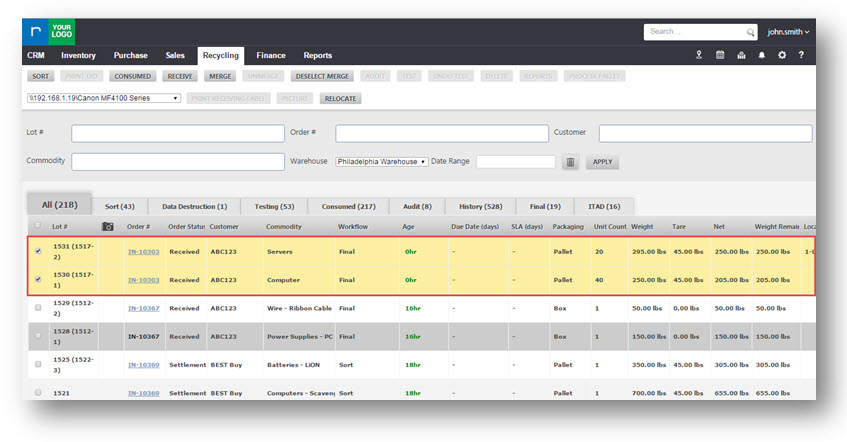
Note that there are 2 lots generated of 1517 are now in the system.One is 250 pounds and the other one is 295.
26. Navigate to History tab.
27. Search for lot 1517 and see that lot has been processed with 0 weight remaining.

