Lock a Location on the Test Screen
- Lakshmi Pulomas (Unlicensed)
- MatthewM (Unlicensed)
This tutorial shows you how to lock a location on the test screen for faster receiving/testing.
1. Navigate to Recycling>Inventory Detail.

The Inventory Detail page will be displayed.
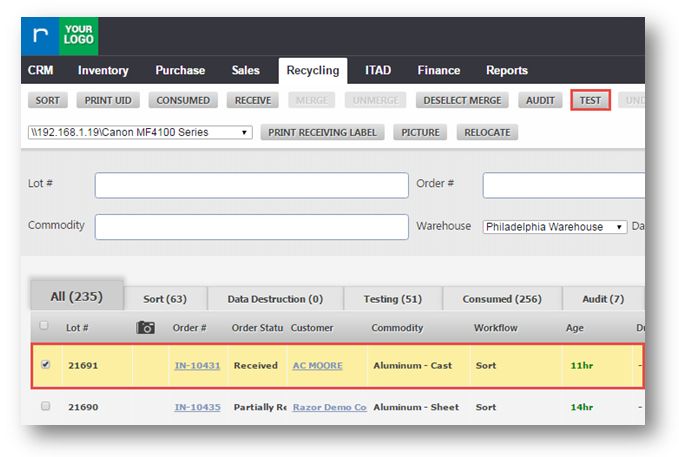
2. Select the required order by checking in the checkbox.
3. Click TEST.
The TEST page will be displayed.

Change the assigned location name in Assign Location field.
4. Click ( ) icon in the Assign Location field to unlock the assigned location name.
5. Select the new location from the Assign Location drop down list.

6. Enter the model number in Model field.
7. Generate a unique identifier number by clicking (  ) icon in Unique Identifier field.
8. Generate a serial number by clicking ( ) icon in Serial field.
9. Select audit status as Scarp or Resale in Audit Status field.
10. Select the required commodities in Commodity drop down list.
11. Click ADD.
The message box asking you to confirm the changes will be displayed.

12. Click Yes.

The changes will be updated and displayed in the list.