Process an Advanced Exchange RMA
This tutorial shows you how to process an 'Advanced Exchange' RMA.
This is for situations where
- A customer got an item but they wanted a different one;
- A customer is unhappy with the particular condition of the item;
You can get that item back and send them a new one.
1. Click Create RMA at the top of the SALES ORDER screen.

2. Select an item from the bottom of the list.
In the example here, the item at the bottom of the list is selected.
3. Select a reason for returning the item under the Return Reason drop down menu.
The reason Quality Concern is selected.
4. Click Next.

A dialog box as shown below will be displayed.

5. Select the RMA Type as Advanced Exchange.
6. Select No for the option, Provide Return Label.
This depends on your return policies.
7. Click Next.

8. The last step asking you to check whether you want to Send Email to customer now or not will be displayed. Keep that un-checked.
9. Click Finish.
A message box informing you that RMA #102 has been created along with the Sales Order will be displayed.
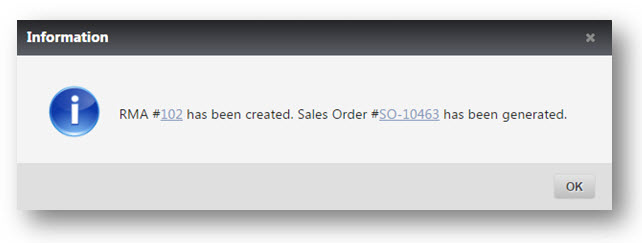
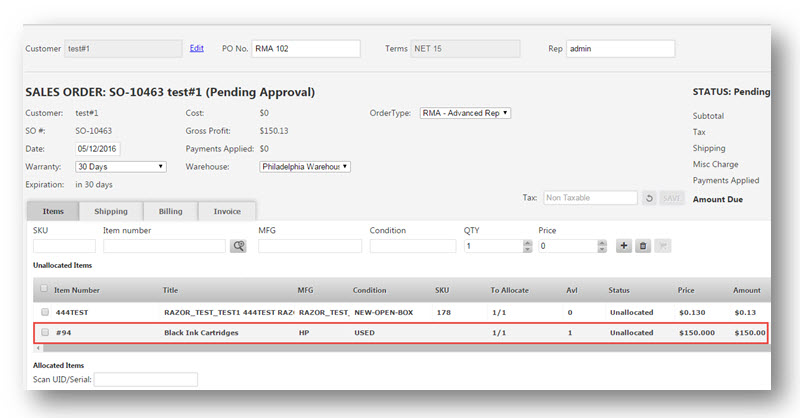
10. Click Sales Order number.
A tab with the details of the sales order for the replacement that is going to be sent to the customer will be displayed.

This is an identical address and situation to the original sale that is automatically made that you can either allocate a new item with the same specifics or if a different item is wanted, the details of the same can be specified and allocated.

11. Go back to the original Sales Order.
12. Click RMA #102.

The returned page will be opened. The item displayed there is the one that has been RMA-ed. Assuming that the item has been sent back to you, you can verify what is going on.

Select the item displayed.
13. Click Verify.
The Verify Received Items page will be displayed. This is Step 1 of the process.
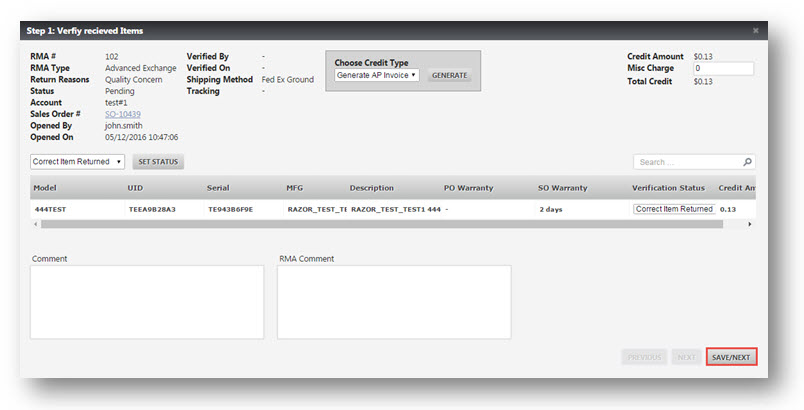
14. The Verification Status can be set to Correct Item Returned, Incorrect Item Returned or Item Not Sent. In this case, select Correct Item Returned.
15. Click Save/Next.
Step 2 of the process is Select Items Disposition.

If the customer got the item but it was not the one they wanted, then you can just re-inventory it into the system or if they set one and it was either improperly inventoried originally or damaged in shipping, you can change it under the Condition.
16. Set Condition as REPAIR.
17. Set Workflow to PARTS.
18. Click Save/Next.
The final step is Step 3, which is Close Out RMA.

19. Click Save/Next.
Now the item has been fully brought back into the system.

20. Go back to your Sales Order and make sure that everything is in order, allocate the correct item that the customer wants, and finish off the sales order to ship the item to the customer.
